🕵️ SpyGames
Your mission code, Agent. Find your lesson, check the wiring, tap Copy, then paste it into the Arduino editor and upload.
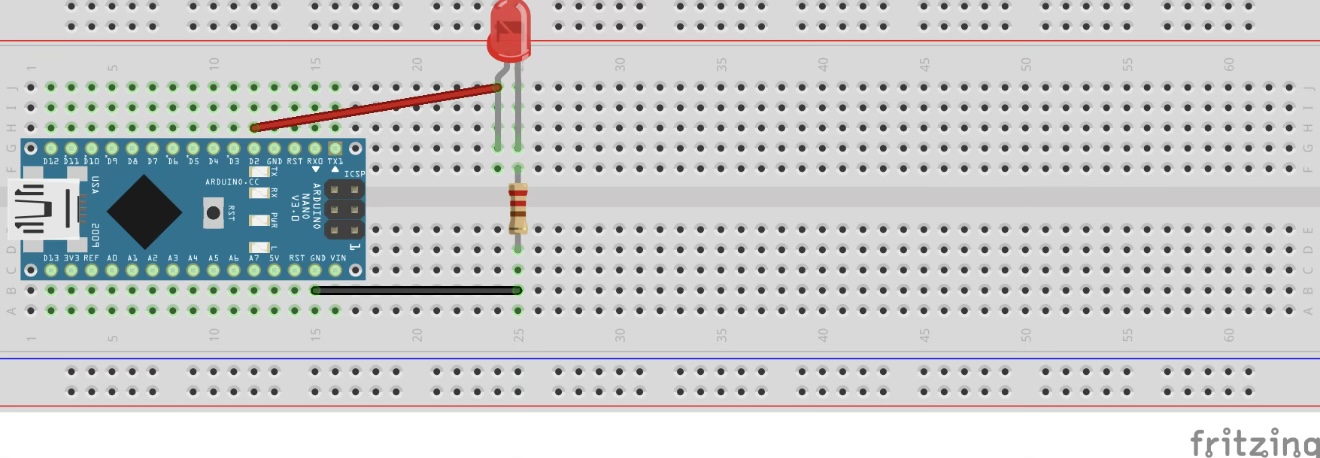
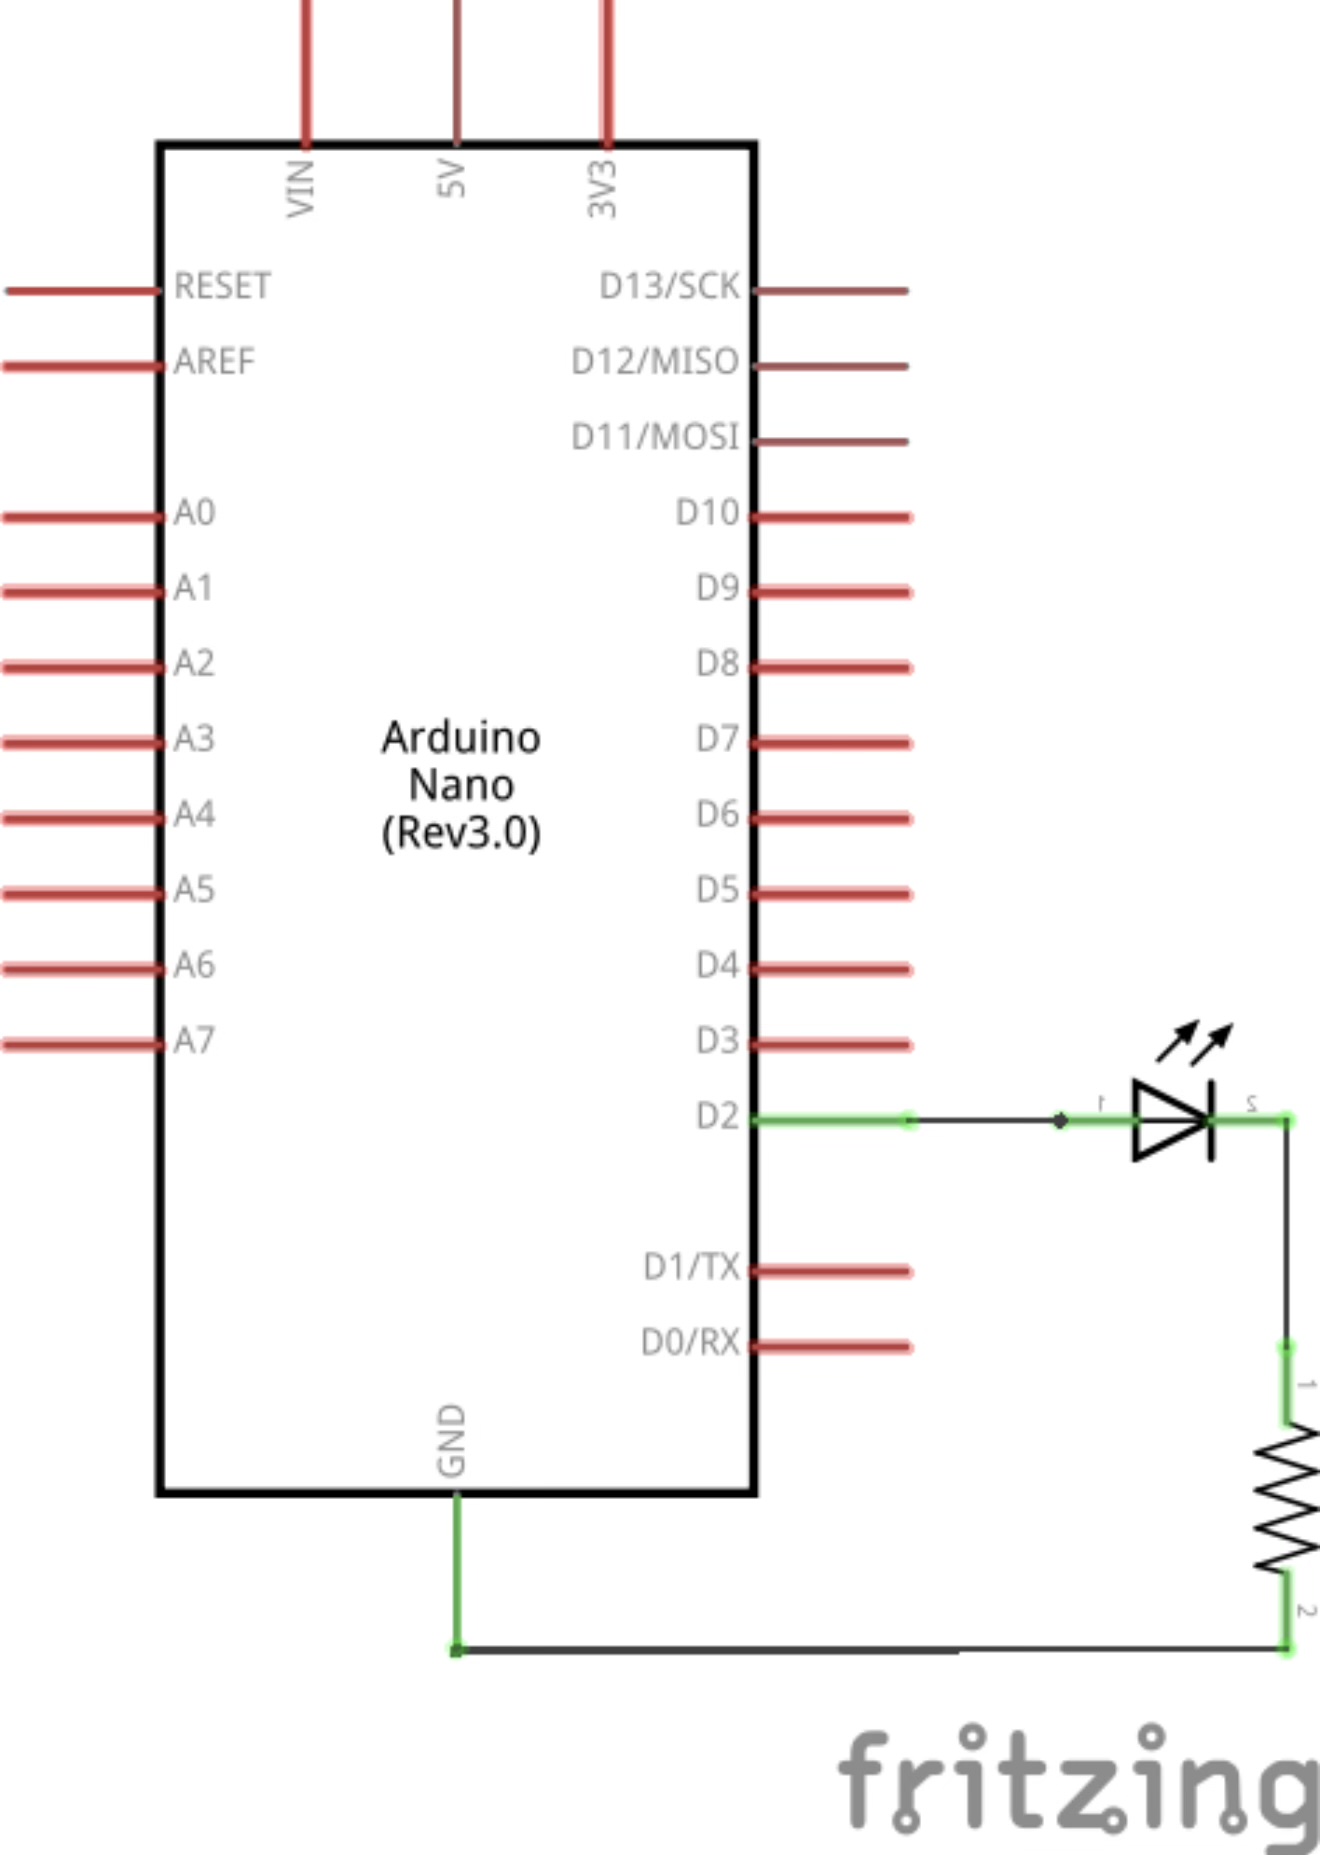
Lesson 1 — Light Up LED
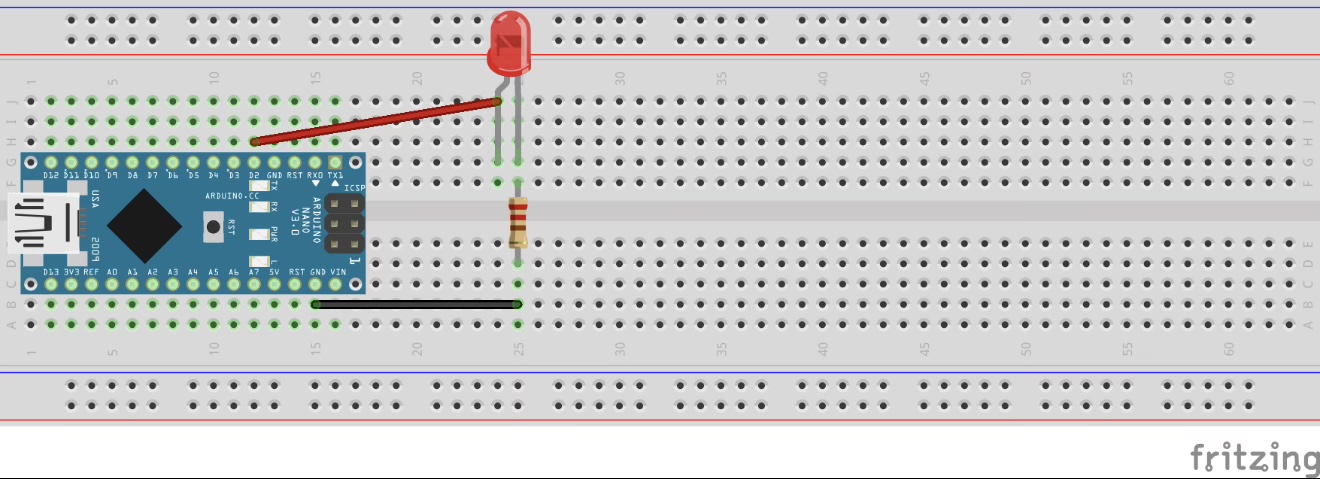

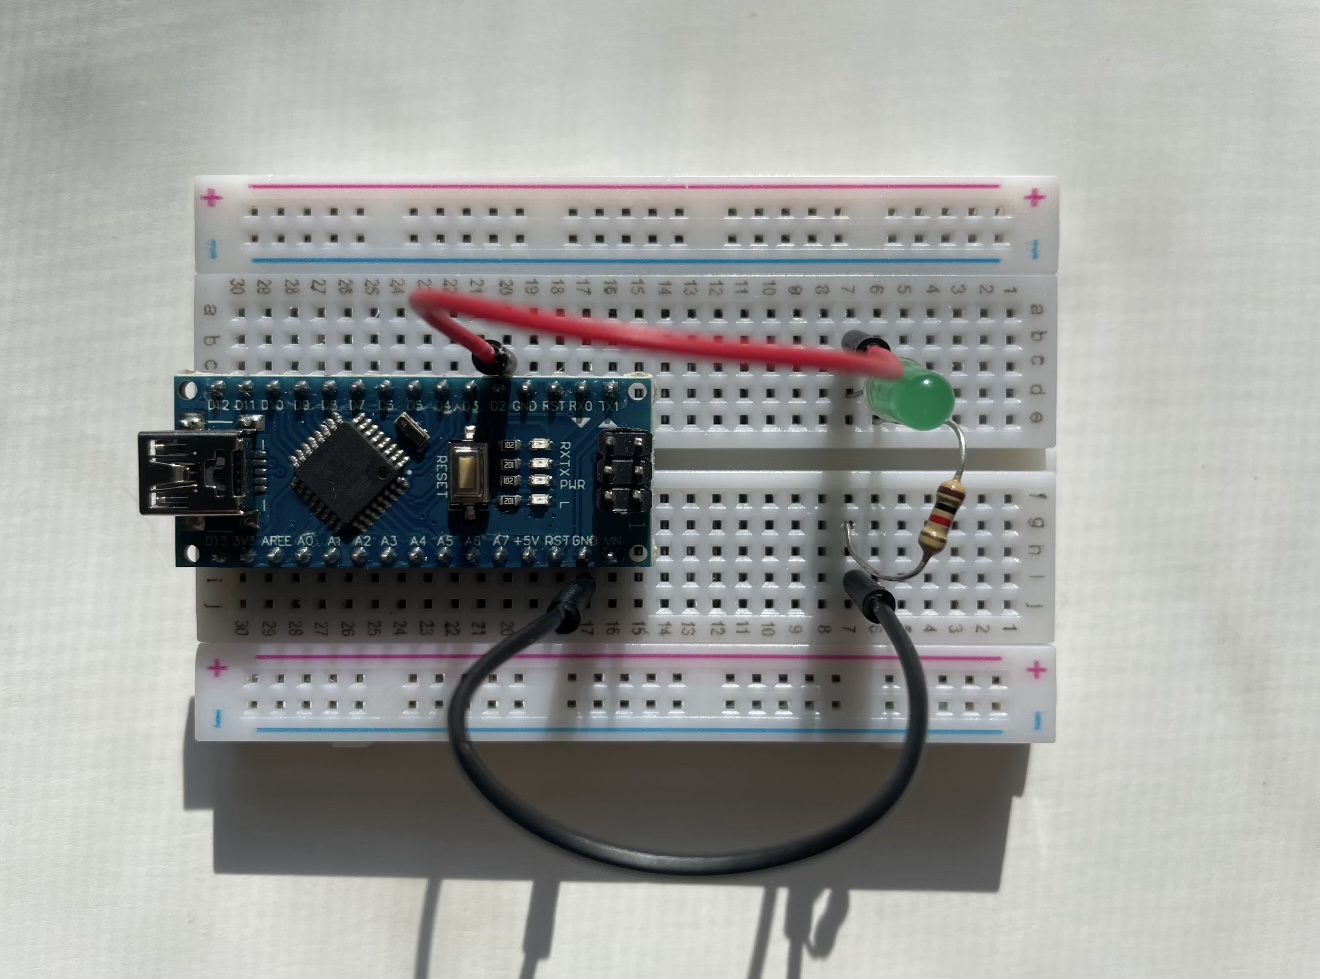
Light Up LED
Arduino
// Light Up LED
// ACT 1: INITIAL LIGHT UP CODE:
void setup(){
  //setup here
  pinMode(2, OUTPUT);
}

void loop(){
  digitalWrite(2, HIGH);
}
Lesson 2 — Flashing LED
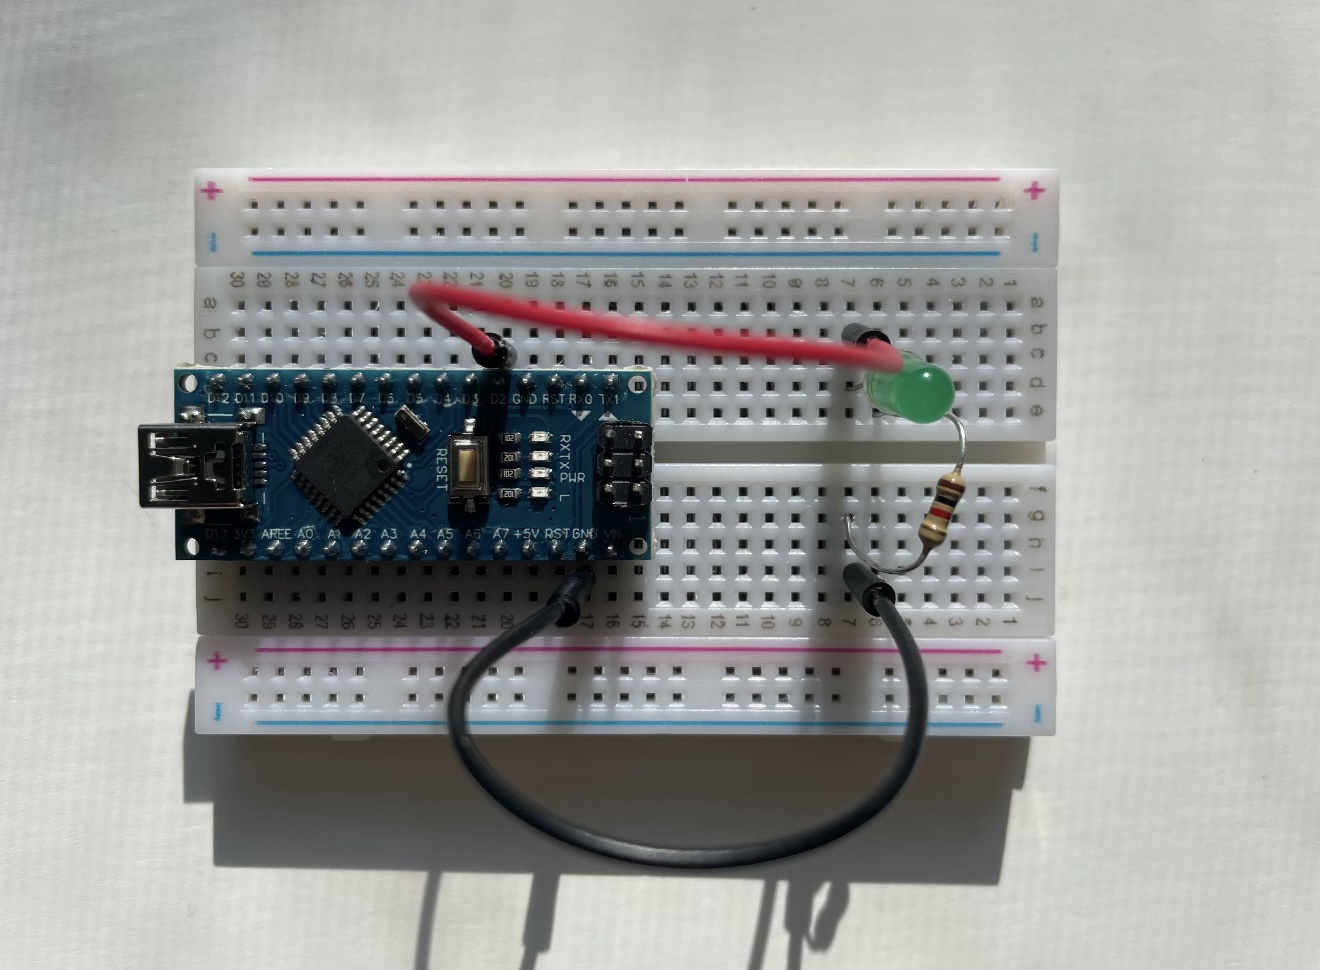
Flashing LED
Arduino
// Flashing LED
void setup(){
//setup here
pinMode(2, OUTPUT);
}
void loop(){
digitalWrite(2, HIGH);
delay(1000);
digitalWrite(2, LOW);
delay(1000);
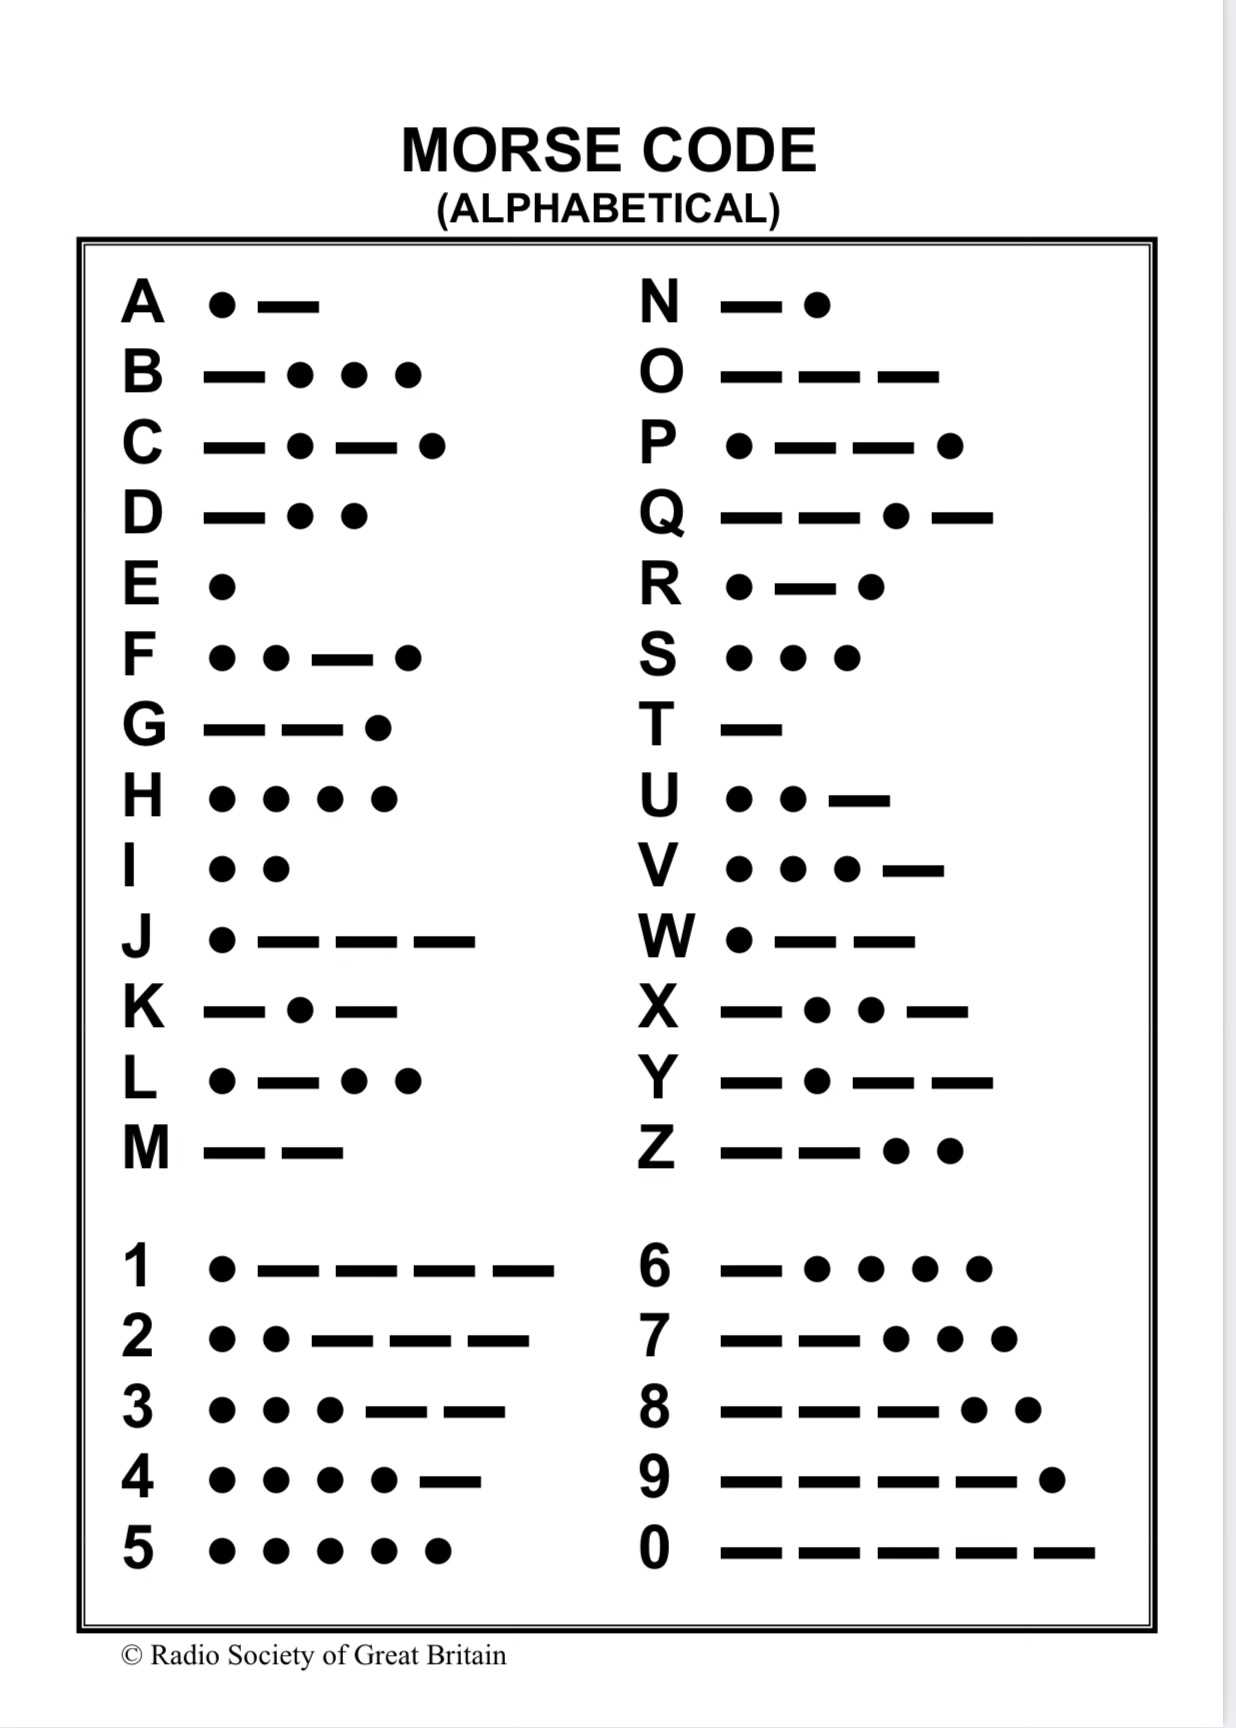
}Morse Code LED Flash
Arduino
// Morse Code LED Flash
void setup(){
  //setup here
  pinMode(2, OUTPUT);
}

// Morse code for "hello"
void loop(){
  digitalWrite(2, HIGH);
  delay(500);
  digitalWrite(2, LOW);
  delay(500);
  digitalWrite(2, HIGH);
  delay(500);
  digitalWrite(2, LOW);
  delay(500);
  digitalWrite(2, HIGH);
  delay(500);
  digitalWrite(2, LOW);
  delay(500);
  digitalWrite(2, HIGH);
  delay(500);
  digitalWrite(2, LOW);
  delay(1500);

  digitalWrite(2, HIGH);
  delay(500);
  digitalWrite(2, LOW);
  delay(1500);

  digitalWrite(2, HIGH);
  delay(500);
  digitalWrite(2, LOW);
  delay(500);
  digitalWrite(2, HIGH);
  delay(1500);
  digitalWrite(2, LOW);
  delay(500);
  digitalWrite(2, HIGH);
  delay(500);
  digitalWrite(2, LOW);
  delay(500);
  digitalWrite(2, HIGH);
  delay(500);
  digitalWrite(2, LOW);
  delay(1500);

  digitalWrite(2, HIGH);
  delay(500);
  digitalWrite(2, LOW);
  delay(500);
  digitalWrite(2, HIGH);
  delay(1500);
  digitalWrite(2, LOW);
  delay(500);
  digitalWrite(2, HIGH);
  delay(500);
  digitalWrite(2, LOW);
  delay(500);
  digitalWrite(2, HIGH);
  delay(500);
  digitalWrite(2, LOW);
  delay(1500);

  digitalWrite(2, HIGH);
  delay(1500);
  digitalWrite(2, LOW);
  delay(500);
  digitalWrite(2, HIGH);
  delay(1500);
  digitalWrite(2, LOW);
  delay(500);
  digitalWrite(2, HIGH);
  delay(1500);
  digitalWrite(2, LOW);
  delay(1500);
}
Lesson 3 — Light Sensor
Light Sensor
Arduino
const int sensor = A0;
const int led = 3;
const int thresh = 500;

int val;

void setup() {
  pinMode(led, OUTPUT);
}

void loop() {
  // val is a measure of how intense the light picked up by the LDR is
  // the brighter the light, the higher val is
  val = analogRead(sensor);
  if(val < thresh)
    digitalWrite(led, HIGH);
  else
    digitalWrite(led, LOW);
  Serial.println(val);
  delay(10);
}
Lesson 4 — Potentiometer
Potentiometer
Arduino
void setup() {
  Serial.begin(9600);
}

void loop() {
  // read the input on analog pin 0 from the potentiometer
  int val = analogRead(A0);
  // prints the value (the higher the value, the brighter the led)
  Serial.println(val);
  delay(100);
}